Monday, January 27, 2014

November 2013 - Butterfly Spring Quilt from Alissa


Here is the awesome little quilt I received from Alissa in the Spring Doll Quilt Swap. I love it!
 
Alissa made me a fantastic tree quilt a few years ago and they are keeping each other company and adding some bright colour to my sewing room wall.


November 2013 - Spring Chickens

 The annual Doll Quilt swap nearly didn't happen this year. Thankfully someone suggest a stress-free option: no partners, no requests, a theme, a minimum and maximum size, a four-month time frame and a due date. If you send one in, you get one back.

The theme was 'Spring' and there was some major Pinterest action going on. My favourite pin was a quilt depicting 'springs' - of the bouncy kind - in a lovely garden setting.

As usual, I dithered, trying to make a decision about what to make. I was leaning towards a star in 30s fabrics but I had already done that. Finally I remembered a Margaret Rolfe quilt book that I had always wanted to make something from.

 
I flicked through and found the chook blocks and decided on a design - Spring Chickens. I wasn't too worried about the design not being everyone's cup of tea as this group of girls have an ongoing in-joke about chooks, with an ever-growing and somewhat quirky collection that circulates the country. Someone would appreciate a chook quilt.
 I drafted out the blocks during one of my quilt group meetings then traced them onto freezer paper that I picked up at the last craft fair - very handy!

The freezer paper is awesome for this type of quilt. You cut the templates apart along the lines, iron them to the fabric, draw seam allowances directly on the fabric, cut the fabric apart and then sew the templates together using the edge of the freezer paper template as your seam line.

As long as you mark everything and refer to your diagram as you go it works (almost) perfectly.


The final layout wasn't decided until I had finished all the blocks. It was originally going to be a more traditional doll quilt layout with hen and two chicks at the top and the rooster and two chicks below, but playing around I though this layout could do double duty as a table runner and wall hanging. At this point I was worried about not finishing it on time, and decided if I ended up keeping it then it would fit perfectly on the dresser inside our front door.
 
This was made totally from stash. The black and white fabrics were from a birthday swap years ago and that 'barcode stripe' was exactly perfect for the binding which used up most of a fat quarter. The green was a fat quarter from one of my earliest quilting fabric orders and there was just enough of it to border around the blocks with only tiny scraps left from a full fat quarter. The red, yellow and browns were from a 'scrap pack' I purchased long ago - really handy for this type of project. The backing was another fat quarter that had been floating around forever.
All up I used just under a meter of fabric for the whole quilt.
 
I quilted about 1/8 to 1/4 in around each of the chooks and then quilted straight diagonal lines in the background. I was planning to quilt back the other way to make a diamond pattern but got this far and thought any more would be too much.
 
As usual I cut it pretty fine to get it finished - I was hand stitching the binding down and tying off quilting threads at my quilt group meeting on the day it was due to be assigned to its recipient, racing against the clock as I had a plane to catch!
 
Thankfully it was finished with minutes to spare and was sent off to Catherine, who lives on a farm surrounded by hundreds of chooks - perfect quilt for her!


Monday, January 20, 2014

Book Review: Jilted (specially for Car)

JiltedJilted by Rachael Johns
My rating: 2 of 5 stars

I downloaded this as a free e-book. I have a friend who loves country romances and recommended this author. I was after a light, easy read so thought I would give it a go.
At the start it was pretty much as I expected - formula late-twenties/early thirties romance in a rural Aussie setting. It was okay but I began to get a little bugged by the clunky-ness of it. I had spent some time in the area where it is set, and some of the descriptions of the town and area bought back fond memories - the local numberplates, the co-op store, the apex park - but also made me feel that the writer was trying to prove her credentials and show she knew the region. It didn't really add anything to the story, and in some cases made me question the authenticity of the setting. A town big enough for a high school and a hospital, but with only a co-op grocery store that did everything? Not a huge problem but it made me feel that the hospital/sick aunt plot wasn't gelling very well.
Clunky also describes the far-too-frequent references to 'Farmer Wants a Wife' and the odd phrases about 'much loved television personalities', and the whole soapy-star-who-walks-away-from-a-brilliant-career-to-nurse-a-dying-aunt subplot.
The plot of the story felt more and more forced the further into the book I got. Seriously - you don't come back after TEN YEARS apart, in which neither of you cared enough to contact the other, and then start all over again. And I couldn't work out why I was so upset yet willing to keep reading. There was something charming there, and something about the characterisations that got me, but on the whole I was left feeling...underwhelmed, cheated?
The book stayed with me.
Later I read an 'authors note' in another novel that described how characters had forced the author to write a totally different story to the one she set out to write.
Ahah!
That was why this book bugged me so much!
Rachel Johns didn't listen to her characters. She told a story crafted to fit a formula, not the story they needed to tell.
For there is a story there, but I would love to hear it as it happens not in flashbacks a decade after the fact. The wonder and excitement of teens finding their soulmate, but being told they were 'too young'. The thoughtlessness and misunderstandings that makes one of them make a mistake while alone and out of her depth. The angst and pain as she tries to make it right but makes it worse. And the wild trip across country as he tracks down his runaway love, the heartbreaking tale she tells, the adult decisions they are forced to make - and a resolution, but not mine to make.
There. That is the story those two country kids were trying to tell me. And I would love to read it.

View all my reviews

July 2013 - Little Hoodlum


 I started this jumper in July 2012. Jack wanted a green jumper with a hood and I had seen several completed versions of the Little Hoodlum (by Julia Stanfield, available on Ravelry) around the blogs. I liked that it was knit in the round with minimal seaming so I dragged Jack off to Lincraft to select the yarn. Green is hard to find! I wanted a variegated yarn but most greens were mixed with pink. He settled on this rainbow-multi with a mint-green base. It is Patons London 8ply acrylic/wool blend.
 
I got most of the body completed before it got hot and put it aside to work on the sleeves throughout summer, thankful I had cast on a larger size. As happens with all my projects it was a long time between stitches. I picked it up again at the start of winter, determined to get it finished.
 
The sleeves and hood took much longer than expected and I cast off and wove in the ends right at the end of July 2013. Just in time for a 30deg heatwave. I think it got worn once. I'm hoping I made it big enough to still fit him for winter 2014. Might need a brick on the head to slow him down a bit.


Thursday, January 9, 2014

Pillowcases for Oncology Kids - Pillowcase Tutorial


If you are looking for a way to clear out your stash then why not do some sewing for a good cause?  Make pillowcases for the drive being run by the Handmade Co-operative for the charity 'Pillowcases for Oncology Kids'. All the details about the charity and the address to send your donations can be found by following this link:  Handmade Co-operative Pillowcase Drive 2014


I've written out some directions for a simple pillowcase in the dimensions requested for the drive. It has an inside flap to hold the pillow in place.
You need about one meter of fabric per pillowcase.
Use 100% quilting weight cotton or cotton flannelette.
Scroll down for photos of each step.
Scroll further down for the formula to make a pillowcase to match any pillow size, and a dodgy hand-drawn diagram.

Easy Pillowcase Directions

Finished dimensions: Size A - 48cm x 75cm   Size B - 51cm x 76cm

1. Cut a piece of fabric - 50cm x 180cm for Size A or 53cm x 182cm to make size B.
2. There is a 5cm hem allowance at each end. Fold under 2.5cm, then fold it under again and stitch in place. Do this at each of the short ends.
3. Open fabric out flat, right side up.
4. Fold right sides together, so that one end sticks out 20cm longer than the other.
5. Fold that 20cm back over the top, right side down.
6. Pin and sew both long edges of the pillowcase using a 1cm seam allowance and finish the raw edges.
7. Turn right side out and press.

Photo Tutorial

1. Cut a piece of fabric - 180cm x 50cm for Size A or 182cm x 53cm to make size B.
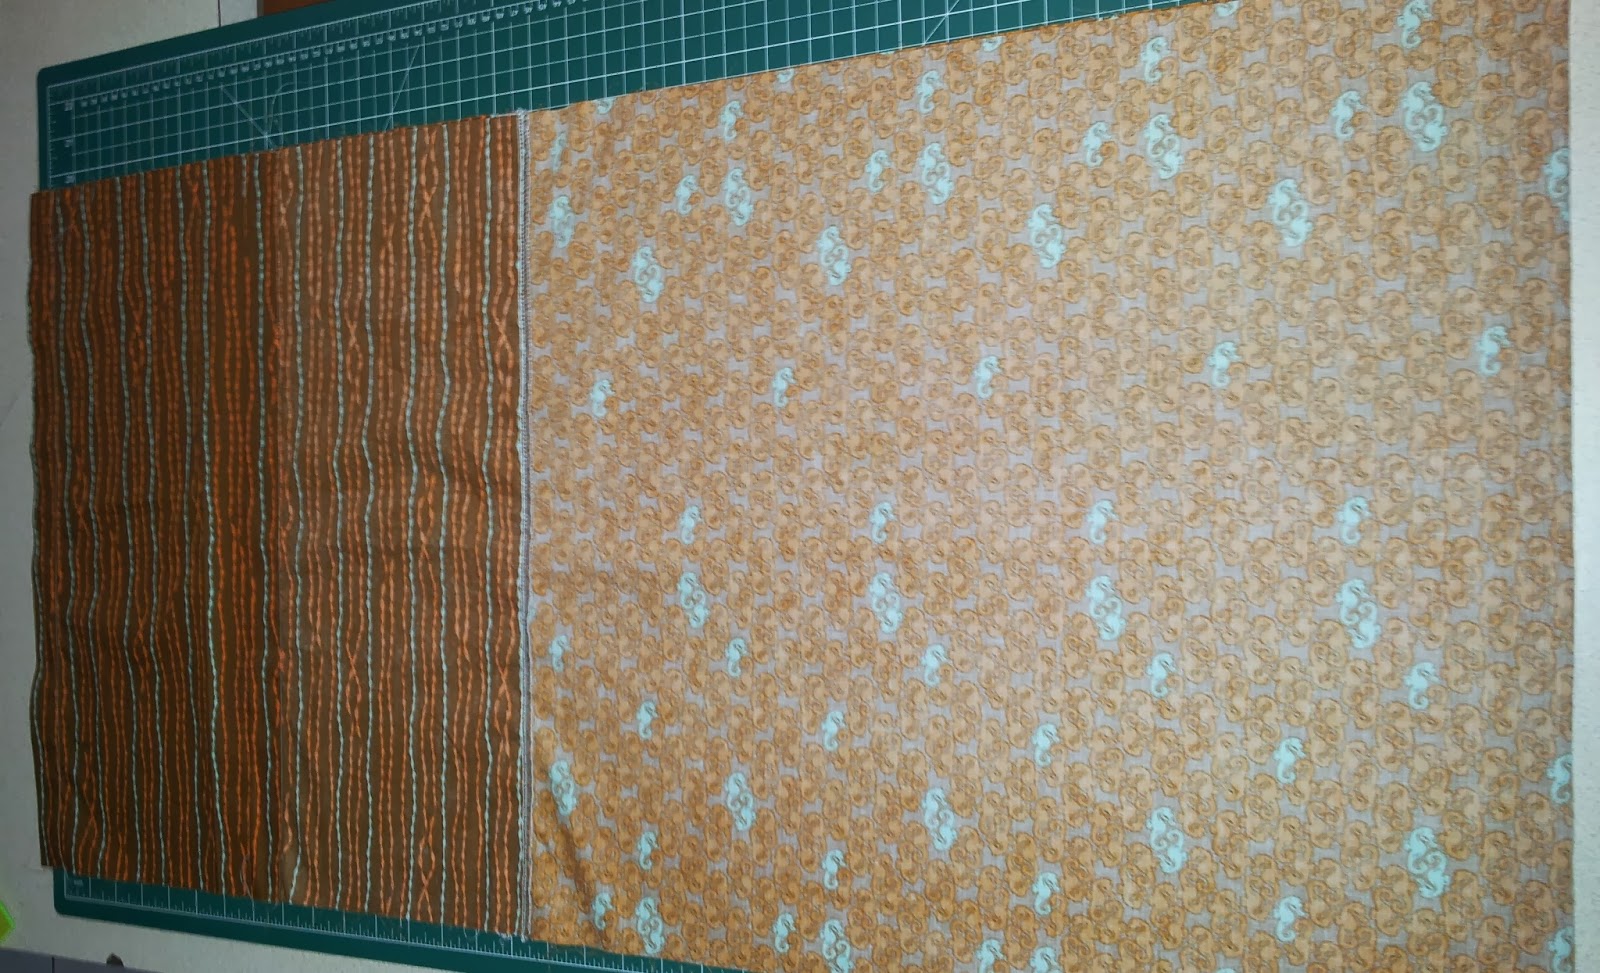
I joined several different fabrics to make the required length. You can cut two single-fabric pillowcases from 2m of quilting fabric if you cut parallel to the selvedge.
 

2. There is a 5cm hem allowance at each end. Fold under 2.5cm, then fold it under again and stitch in place. Do this at each of the short ends. Stitch close to the inside edge. 


3. Open fabric out flat, right side up.

4. Fold right sides together, so that one end sticks out 20cm longer than the other. One hem (top layer) should touch the fold line of the flap (bottom layer).

 
5. Fold that 20cm back over the top, right side down. At the flap end you should have three layers of fabric.


 6. Pin and sew both long edges of the pillowcase using a 1cm seam allowance and finish the raw edges. I overlock first and them sew a straight stitch along the 1cm seam line as well.

7. Turn right side out and press. Pack up and send it to the Pillowcases for Oncology Kids drive or fill it with a plump new pillow and enjoy.


Formula for Custom Pillowcases


Length = (2 x finished length) + 30cm        OR     Length = (2 x finished length) + 12 inches
Width = finished width + 2cm                               Width = finished width + 1 inch
 
The 30cm added to the length accounts for a 20cm flap and a 5cm hem allowance at each end.
        (12 inches gives an 8 inch flap and 2 inch hem allowance at each end)
The 2cm added to the width accounts for a 1cm seam allowance on each side.
        (1 inch allows for 1/2 inch seam allowance on each side)
 
Measure your pillow and substitute the measurements into the formula above to determine the size of the fabric rectangle you need to cut.
If you choose to join several fabrics make sure you include seam allowances. Drawing a sketch makes it easy to determine the correct size for each fabric panel.


Wednesday, January 8, 2014

June 2013 - I-spy Flannel quilt

 
The top for this quilt was made in July 2010 and the backing was together and ready to baste in January 2011. ( I also made the pillowcases the same month).
 
In June 2013 I finally pulled it out, added a few strips of fabric to the backing, basted it and quilted it. I did straight lines 1/4 inch (ish) from the seams in the borders and around each of the squares on the front and then added a square double line of quilting in each 4 patch. I used a red/green/blue/yellow variegated thread on top and bottom and the stitching blends nicely into the busy prints.
 
The hardest part was deciding on the binding fabric. Jack had selected a green spot but it was the wrong colour and I didn't want to stare at it for hours while I stitched the binding down,  so I dug around and found a blue multi-colour-spot that we were both happy with.
 
 
 One side of the quilt is all flannel fabrics and it is a simple, ordered design. It was easy to make and I think it looks quite effective.
The other side is all quilting weight novelty cottons and is a riot of colour and pattern. This was lots of fun to put together. I got all the directional prints to face the same way to match the other side of the quilt (so there is a top and bottom) and I'm pretty sure I only used each fabric once. 
 

 The quilt ended up at 206cm x 154cm (roughly 81" x 60") and as you can see from the top photo it is a perfect size for a single bed.
 
 It was wonderful to get this quilt complete, and even more wonderful that it has been slept under every night since then. We often have games of ' I spy' or 'Can you find...?' using both sides of the quilt.
Makes me want to finish more things.


Tuesday, January 7, 2014

January/June/July 2013 - Jelly Roll Race Quilt

 Towards the end of 2012 I had quite a few friends making Jelly Roll Race quilts. You take a jelly roll, sew the strips into one very long ribbon, fold in half and stitch the long side, cut, fold in half and sew the long side again, and keep doing that until you have a quilt top. Plenty of quilt groups have done races to see who can be the fastest to produce a quilt top using just the jelly roll.

I wasn't particularly fussed on them. But then, a few days after Christmas (big family get together) the women in the house got a bit of cabin fever and needed some crafty retail therapy. We headed to the local craft store and there, hanging behind the counter was the nicest Jelly Roll Race quilt top I had ever seen. It was a rainbow of batik fabrics finished with two co-ordinating borders.
I was sold. I picked a batik roll from the remaining stash and then we spent some time picking border fabric. The lady in the shop helpfully wrote down the border measurements for me and I was determined to go back home and make it that very night.

 
It didn't quite happen that night, but the following afternoon I dug out Mum's old sewing machine and set it up on the deck where everyone else was playing cards and scrabble or crashing remote controlled helicopters. There was a bit of eye-rolling from the men folk. I got stuck in expecting it to be a quick easy project. Some of those races on the internet managed to produce a top in just 45 minutes.
Ha!
Took me much longer, and sewing with an empty bobbin doesn't really speed things up. The whole process kept the non-sewers amused (and almost converted one or two).
I got the strips all together sometime after dinner and laid it out to see how the borders would look. I wasn't in love but it was bright and cheerful and was planned as a serviceable couch throw so I was happy enough.
I used a 2" inner border and a 6" outer border. 

 
We packed up and headed home the next day, so it was another day before I got the borders on. Had I bought the backing and batting at the same time I probably would have finished the whole quilt that week, but instead it got folded up and put aside and it was more than six months before I got to it again.
 
I finally found time to buy the backing and get it basted, and it was under the machine by the end of June. I quilted with a diagonal grid pattern in the centre of the quilt and straight lines in the borders using a multi-coloured embroidery thread.
The binding took forever but seeing as it was July it was quite nice to curl up in front of the fire, under the quilt and stitch away.

The whole thing was finally finished at the end of July and it has been on the couch ever since.
It really is a bit big for a couch throw. It ended up at 216cm x 176cm (85"x70") so it is plenty big enough for a double bed.
I don't think I'll make another one using this method.
If I did I would cut the strips in half before making the long ribbon, to break up the colours a bit more. It was an easy way to make a quick top, so never say never.

And most importantly - the dog approves.