 If you are looking for a way to clear out your stash then why not do some sewing for a good cause? Make pillowcases for the drive being run by the Handmade Co-operative for the charity 'Pillowcases for Oncology Kids'. All the details about the charity and the address to send your donations can be found by following this link: Handmade Co-operative Pillowcase Drive 2014
I've written out some directions for a simple pillowcase in the dimensions requested for the drive. It has an inside flap to hold the pillow in place.
You need about one meter of fabric per pillowcase.
Use 100% quilting weight cotton or cotton flannelette.
Scroll down for photos of each step.
Scroll further down for the formula to make a pillowcase to match any pillow size, and a dodgy hand-drawn diagram.
Easy Pillowcase Directions
Finished dimensions: Size A - 48cm x 75cm Size B - 51cm x 76cm1. Cut a piece of fabric - 50cm x 180cm for Size A or 53cm x 182cm to make size B.
2. There is a 5cm hem allowance at each end. Fold under 2.5cm, then fold it under again and stitch in place. Do this at each of the short ends.
3. Open fabric out flat, right side up.
4. Fold right sides together, so that one end sticks out 20cm longer than the other.
5. Fold that 20cm back over the top, right side down.
6. Pin and sew both long edges of the pillowcase using a 1cm seam allowance and finish the raw edges.
7. Turn right side out and press.
Photo Tutorial
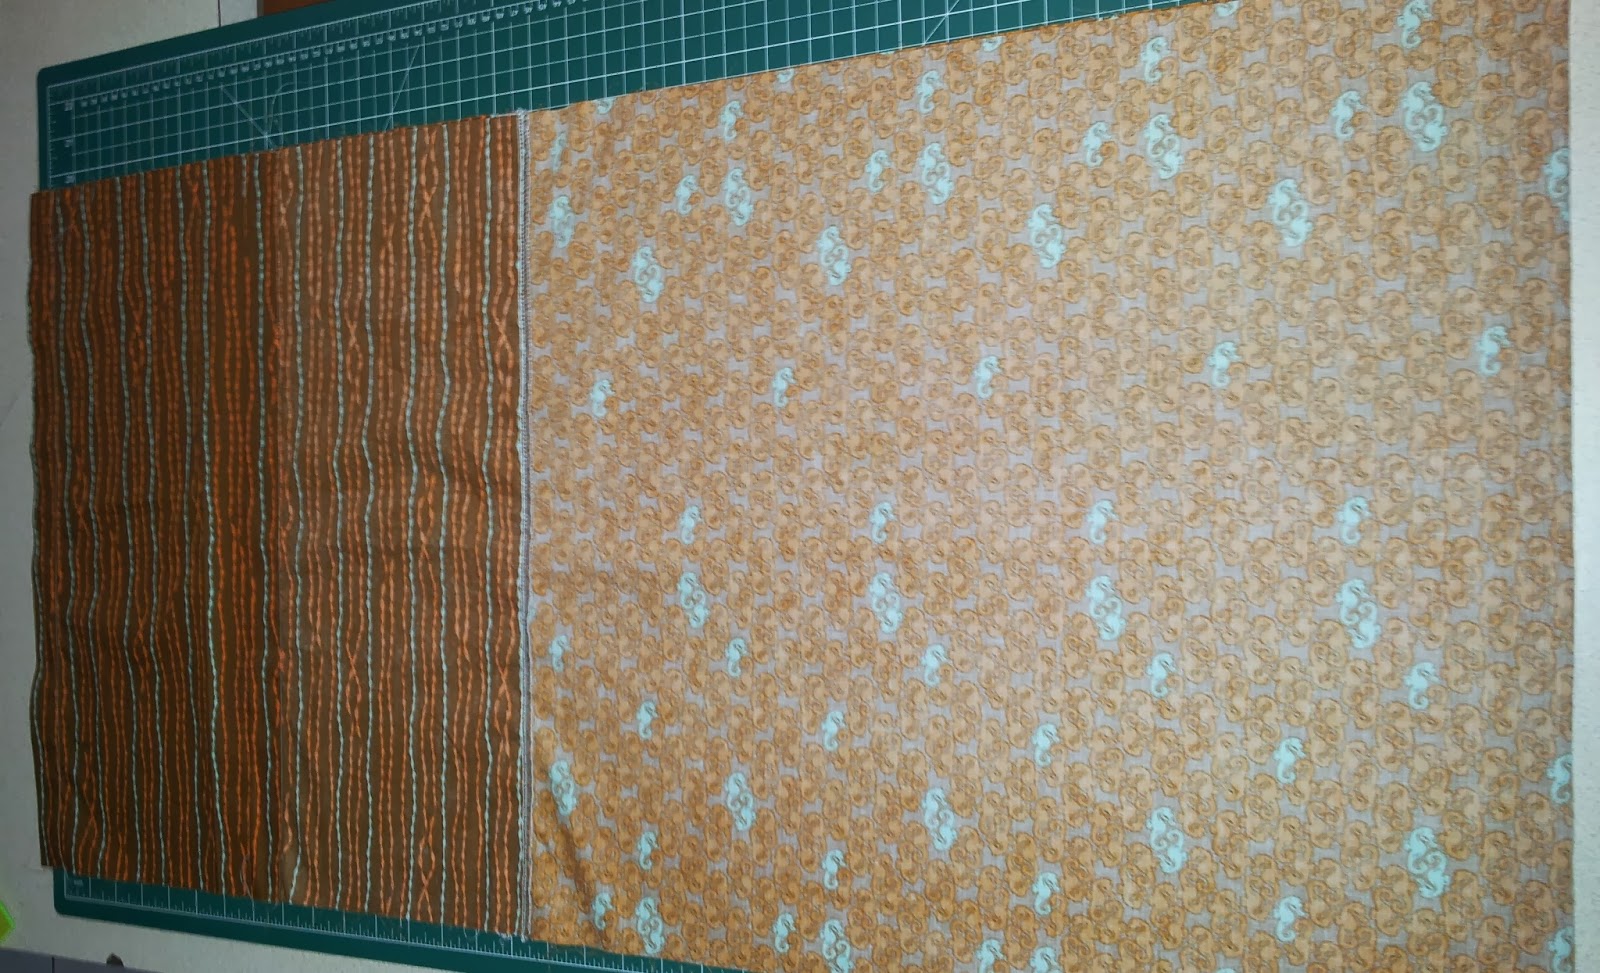
1. Cut a piece of fabric - 180cm x 50cm for Size A or 182cm x 53cm to make size B.I joined several different fabrics to make the required length. You can cut two single-fabric pillowcases from 2m of quilting fabric if you cut parallel to the selvedge.
 2. There is a 5cm hem allowance at each end. Fold under 2.5cm, then fold it under again and stitch in place. Do this at each of the short ends. Stitch close to the inside edge.

3. Open fabric out flat, right side up.
4. Fold right sides together, so that one end sticks out 20cm longer than the other. One hem (top layer) should touch the fold line of the flap (bottom layer).
5. Fold that 20cm back over the top, right side down. At the flap end you should have three layers of fabric.

6. Pin and sew both long edges of the pillowcase using a 1cm seam allowance and finish the raw edges. I overlock first and them sew a straight stitch along the 1cm seam line as well.
7. Turn right side out and press. Pack up and send it to the Pillowcases for Oncology Kids drive or fill it with a plump new pillow and enjoy.


Formula for Custom Pillowcases

Length = (2 x finished length) + 30cm OR Length = (2 x finished length) + 12 inches
Width = finished width + 2cm Width = finished width + 1 inch
The 30cm added to the length accounts for a 20cm flap and a 5cm hem allowance at each end.
(12 inches gives an 8 inch flap and 2 inch hem allowance at each end)
The 2cm added to the width accounts for a 1cm seam allowance on each side.
(1 inch allows for 1/2 inch seam allowance on each side)
Measure your pillow and substitute the measurements into the formula above to determine the size of the fabric rectangle you need to cut.
If you choose to join several fabrics make sure you include seam allowances. Drawing a sketch makes it easy to determine the correct size for each fabric panel.

No comments:
Post a Comment